A fairly comprehensive guide to managing your wordpress blog.
Skip to relevant sections via the links below. Wordpress Blogging is pretty straight-forward, and with a few tips and tricks you will be creating effective and beautiful blog posts in no time.
Login Required
You will need to be logged in to perform any of the steps below. Contact us if you require your login details for your blog.
Managing your blog
- Log in
- Go to: Posts
Here you can see at a glance a list of all your existing blog posts, then choose an action:
- Add New: This opens the new post editor
- Hovering over blog posts gives you a few options:
- Edit: Opens the post editor for that particular blog post
- Quick Edit: Allows you to quickly change basic post attributes such as: Category, Date, Title, Status etc.
- Bin: Deletes the item
- Preview: Opens a new window, previewing the post as it would appear to the user.
- Search: Find particular blog posts by specific keyword expressions
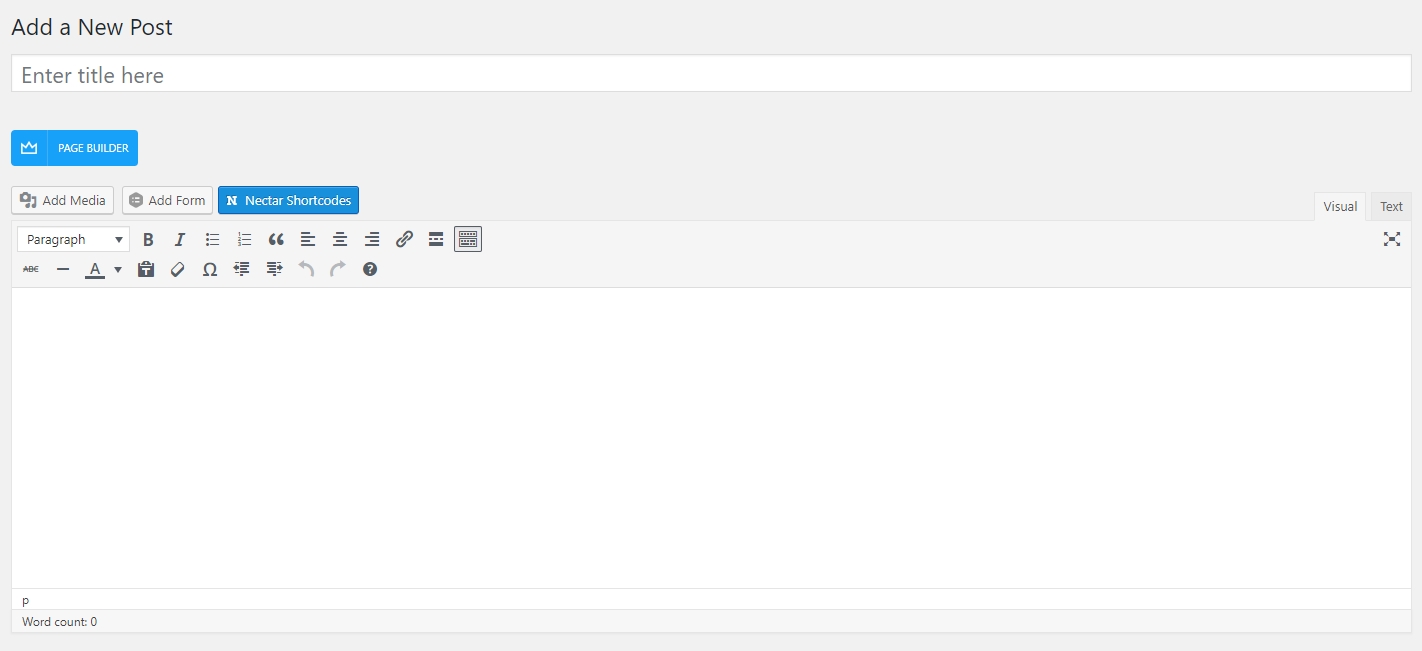
Creating a blog post
- Log in
- Go to: Posts
- Add New
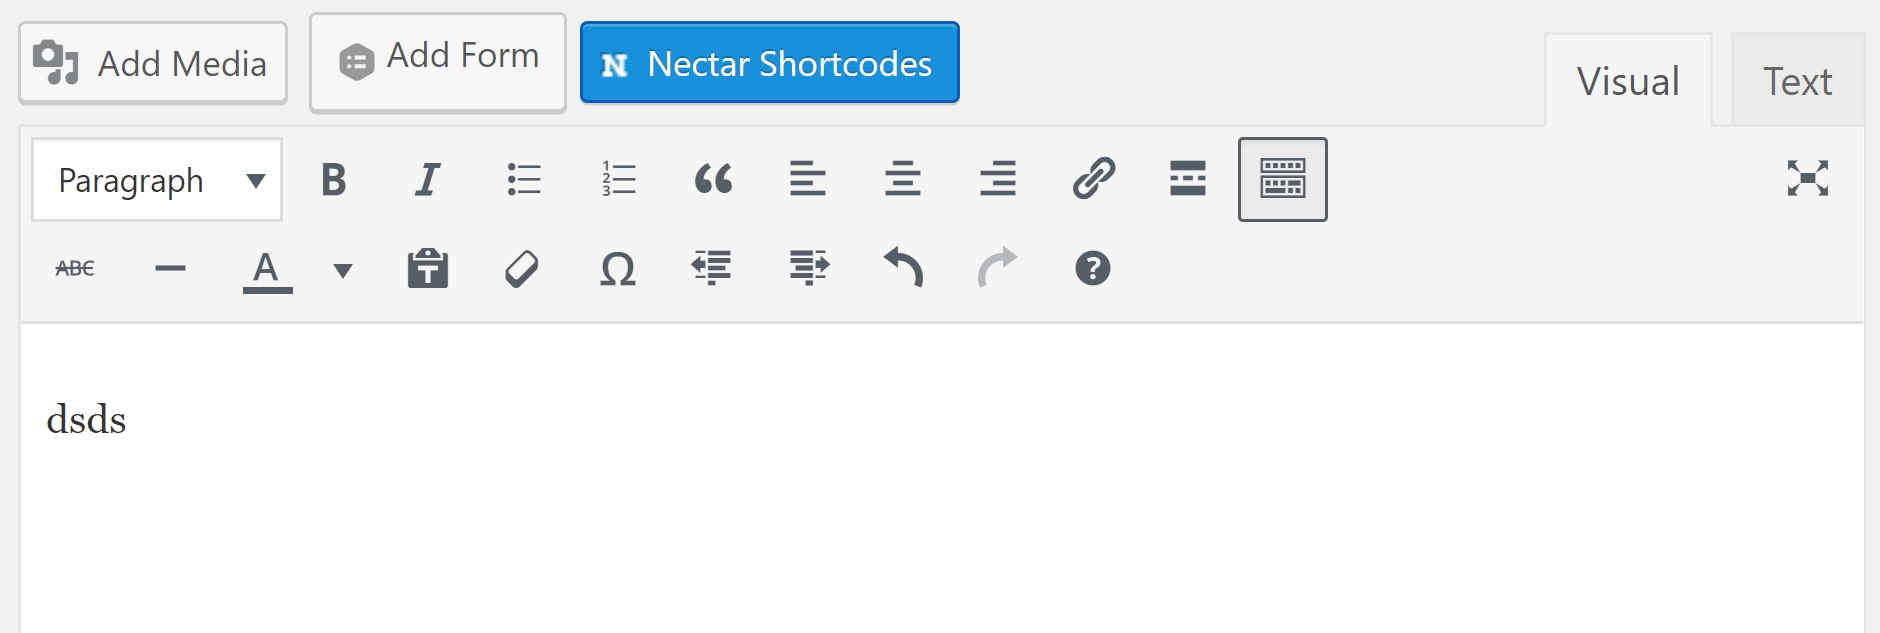
Firstly, Enter a Title and then your Body Text
The title is the headline of your post, and the body text is the article content. There’s two boxes for this – see image below.
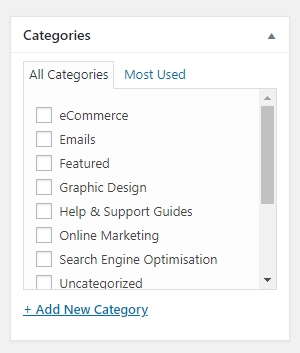
Then, select a Category
This keeps you blog posts organised. You may have a category for Latest News, and another for off-topic posts, or general ramblings for example.
- Find the Categories Box (see below)
- Check a Category Box to select it
- You can select more than one category
- You can Add New Categories from here too.
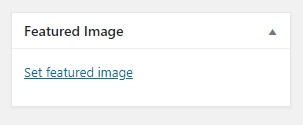
Add a Featured Image
The Featured Image setting allows you to assign a picture to this post. It’s the primary picture, and will display as a thumbnail alongside the title of your blog post.
- Find the Featured Image Box (see below)
- Click Set Featured Image
- Upload a new image, or choose one from your media library
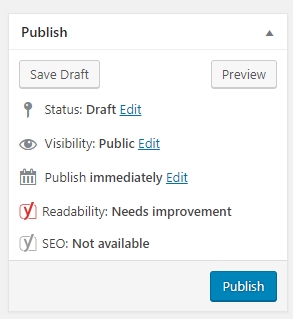
Preview, Save & Publish.
You can save your post as a draft in order to publish it later, or you can preview your post to see what it’ll look like once published, or you can Publish it and make it go live!
- Find the Publish Box (see below)
- Select either: Save Draft, Preview or Publish
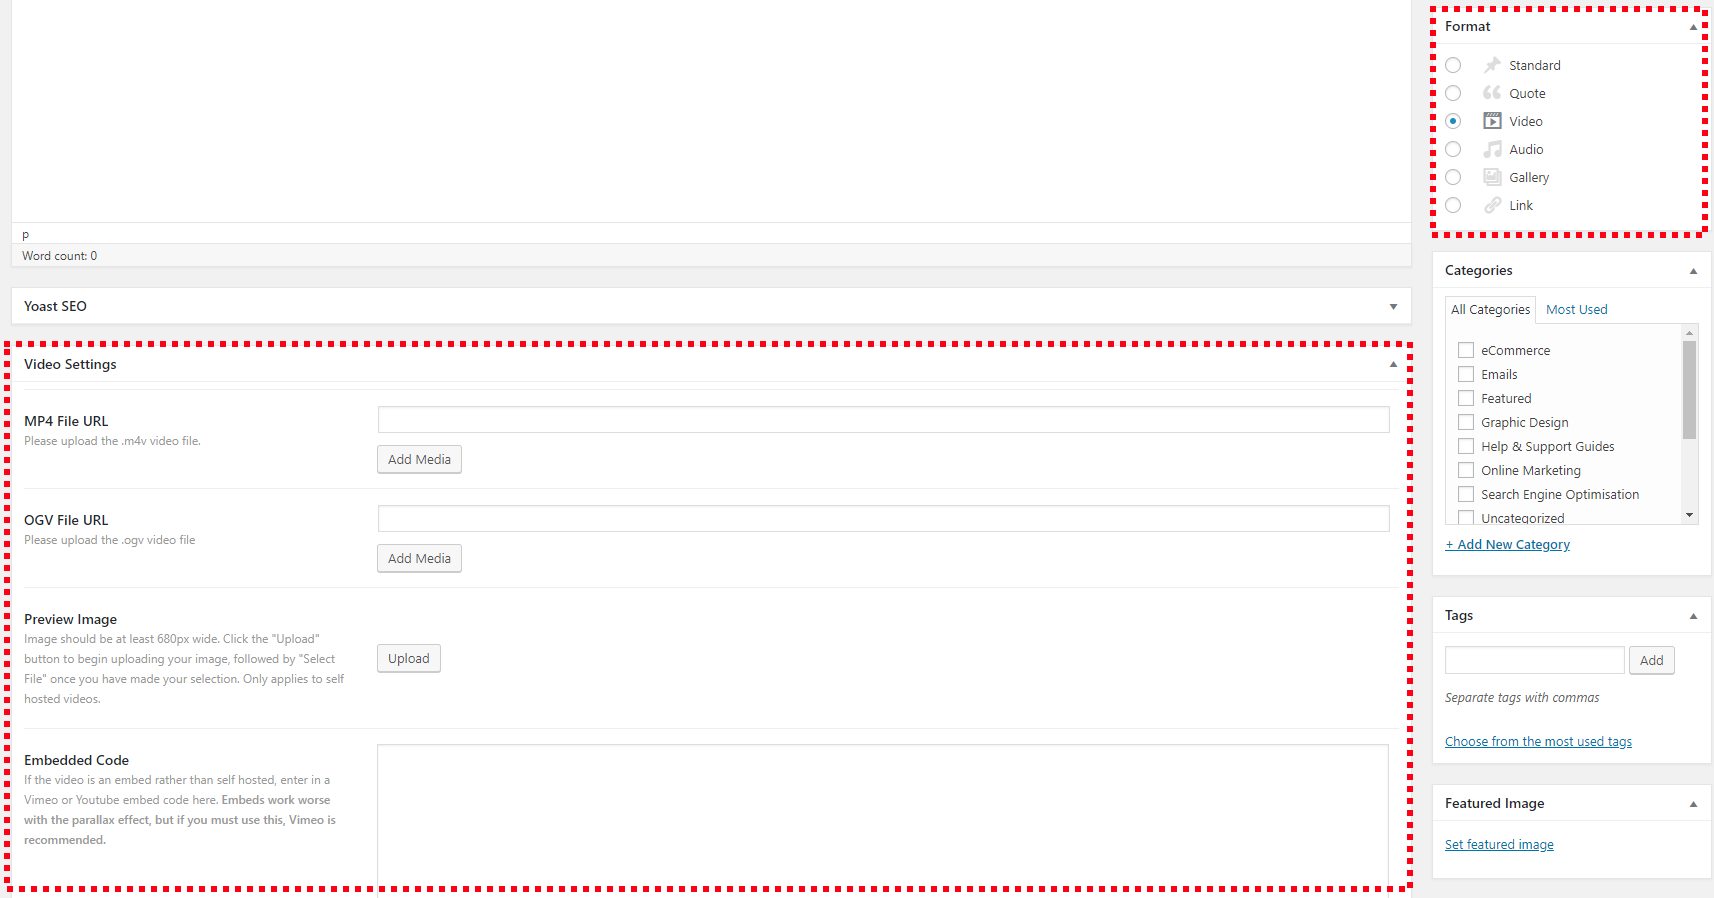
Formats
Note
Your website’s theme may not support this function, or it may display differently on your website. For more info, get in touch with us.
- Find the Format Box (see image below)
- Select the format that best describes your post.
- You will then find more options underneath depending on what format you chose. (see image below)
Useful Tips
Format text sensibly.
Use title tags and proper html formatting to make sure your blog posts not only look grown-up and respectable, but also match the rest of your site style-wise
- Use the Heading tags to create headings. This is found on the drop down box of the body text editor. usually, Heading 1 is used for the title / headline of the post, so your next heading could be set to Heading 2, and smaller subheadings after that might all be Heading 3. It’s up to you how you use these, however this is the general convention.
- Don’t use loads of colours on your text – if any. Keep it simple
- Use BlockQuote to create quotes in your page.
- Create lists with Bullet Points, or Numbered Lists. Keep it tidy
- Don’t insert enormous images – keep them small. We recommend < 300Kb and < 1920px. Any larger will slow down your website.
- Your theme may support a Page Heading Image setting as well as a Featured image setting. We recommend using this to create beautiful headers to your posts.